
What else is there to talk about at the end of the year? 🙂
It’s been a year since I started my journey with sourdough after a successful result of making my own starter. And I am glad I did not give up!
When I first started baking with sourdough starter, I was scared and wasn’t sure what I was doing.
Now looking back, I can say that I’ve learned a lot, and I am not scared anymore 🙂
If you think that bread baking is only for stay-at-home moms, you are wrong. It can be fit into any schedule. Planning is the key here. Or maybe you think it is too difficult or too complicated. It is not! Yes, you have to be prepared for some disappointments along the way. But when we go through some ups and downs, we learn.
A few things you need to keep in mind before you start:
- Plan ahead
- Never give up
- Stick to your plan
- Do it even when you don’t want to (you will thank yourself later)
Things you need to have on hand for successful sourdough baking:
- Starter – I will gladly share mine with you if you live in the area! But if you want to make your own, there are many step-by-step books, articles, videos on how to make one.
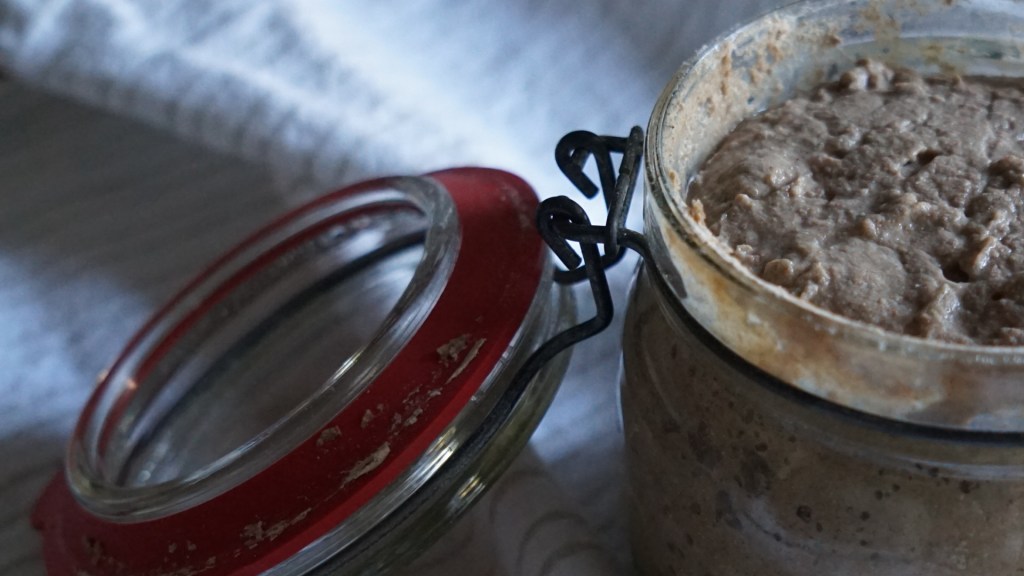
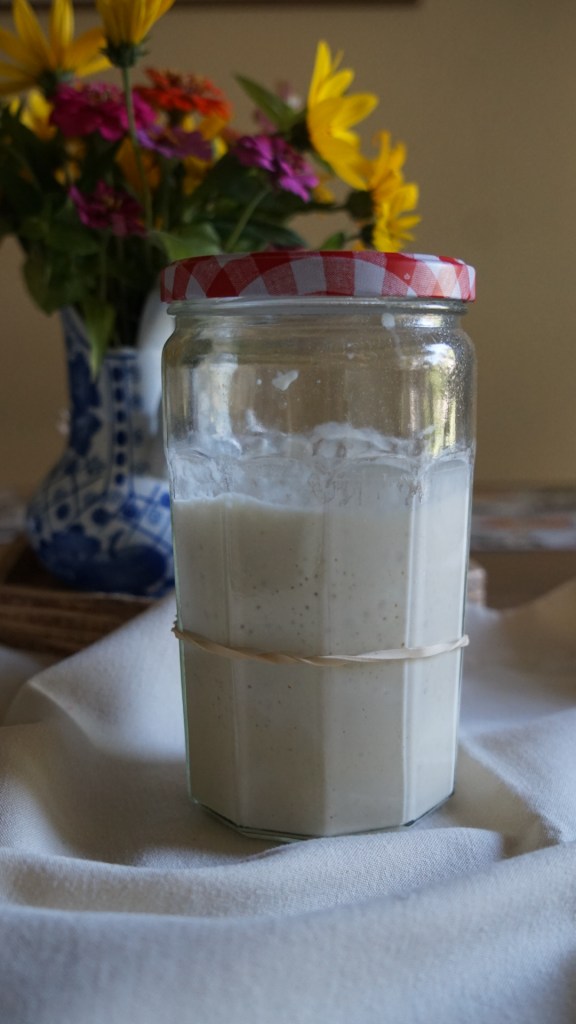
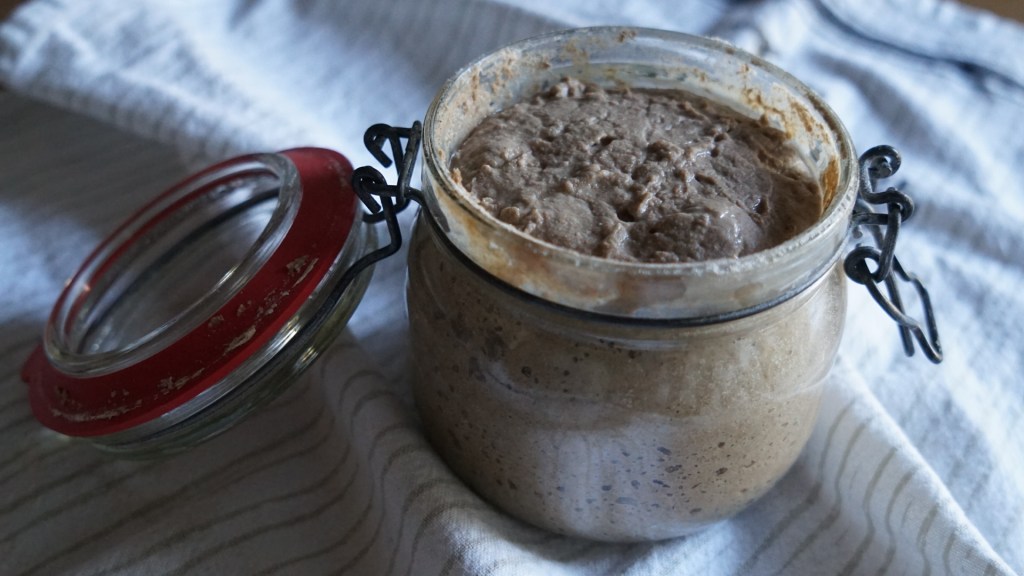
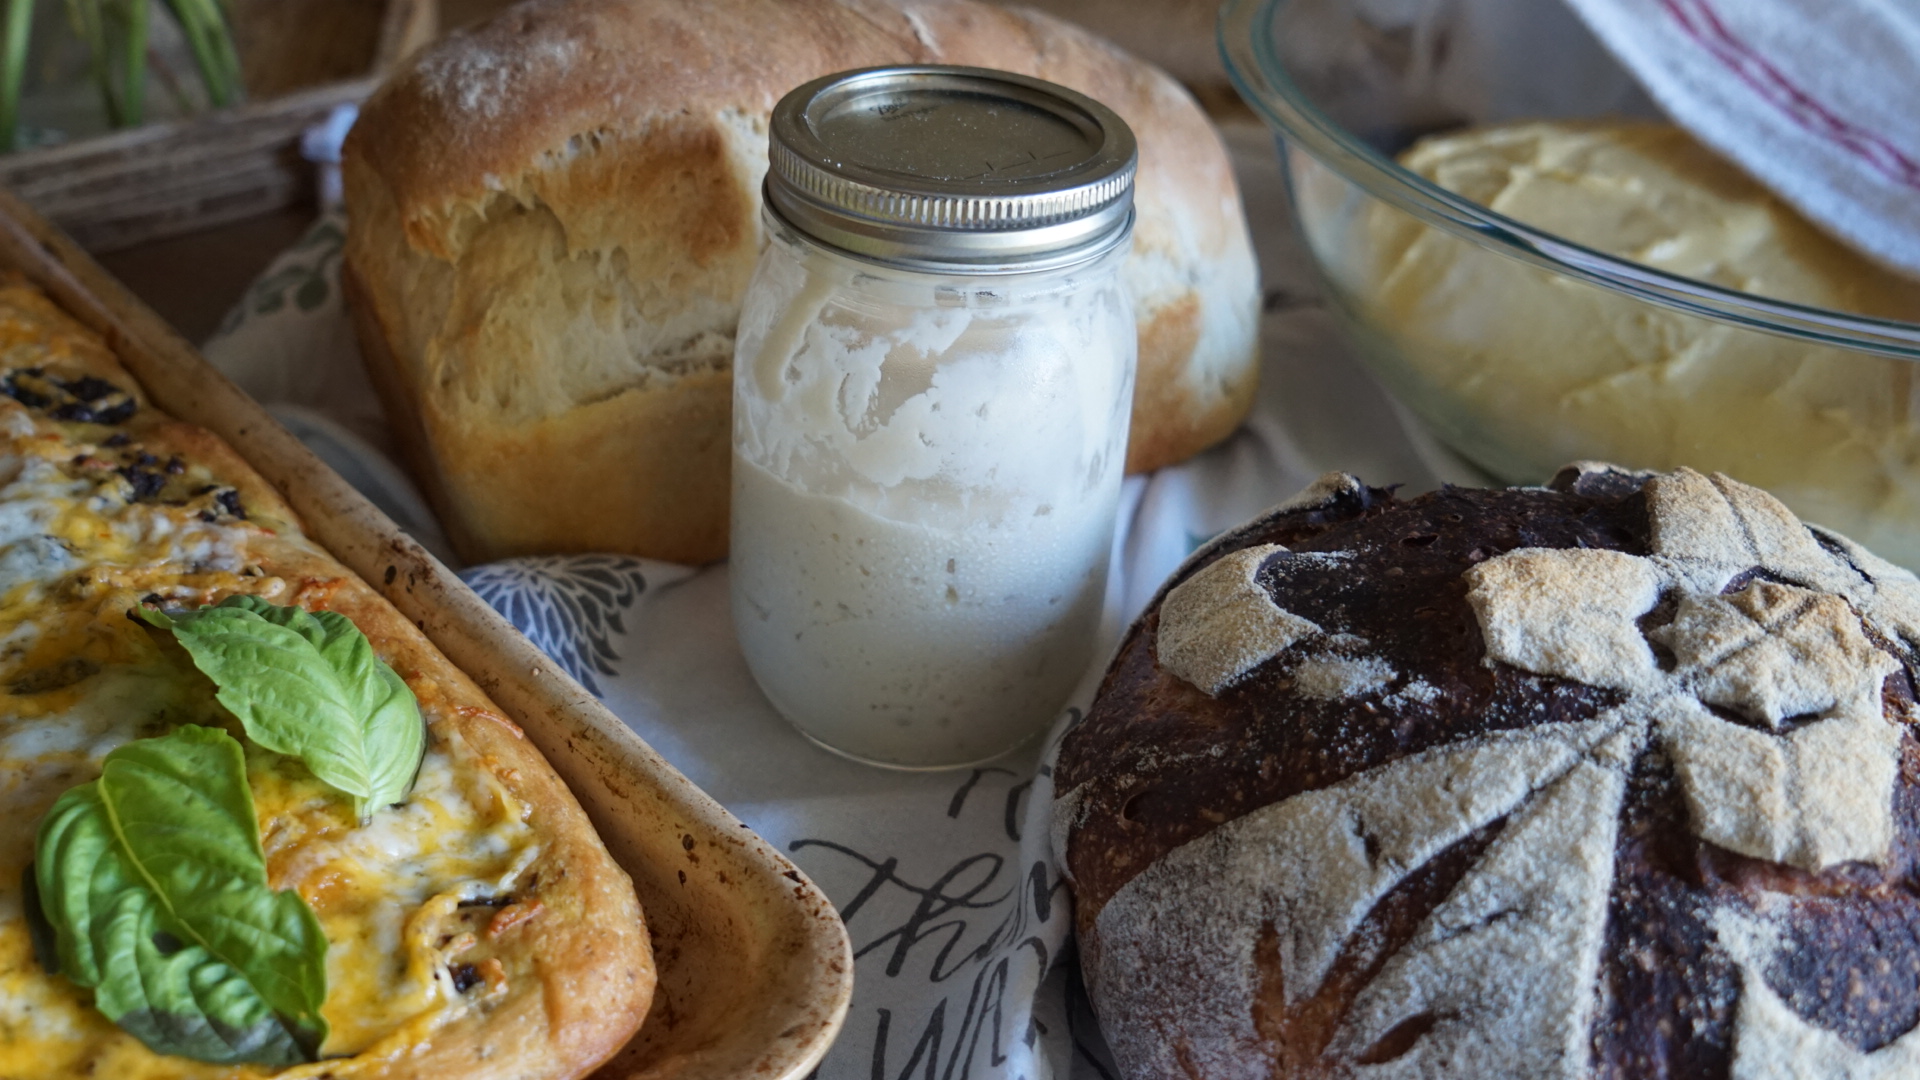
I have two starters – one wheat and one rye. After baking with both of them for a year, I can definitely say that rye is my favorite. I keep and use two because there are some recipes where the wheat one works better. The rye starter is stiffer. The wheat one, on the other hand, is runnier. But they both do a great job! Every time I bake bread, I am amazed how only flour, water, and a bit of salt can make a delicious loaf of bread.

- Good flour, and a lot of it 🙂 – all-purpose flour, whole wheat flour, rye flour, and my favorite pumpernickel flour
- Baking scale – very important kitchen item to have. Most of the bread recipes are in grams, so having one is highly recommended. When it comes to cooking, you don’t need to be that precise. But with baking you have to be more careful and more precise. Successful baker always uses scales.
- Containers for your starter – I use mason jars, they do the job perfectly!
- A few good spatulas
- Dough/bench scraper – it helps to cut or divide dough, and also to clean your working area after
- Dish towels
- Dutch oven – this one is a must
- Parchment paper
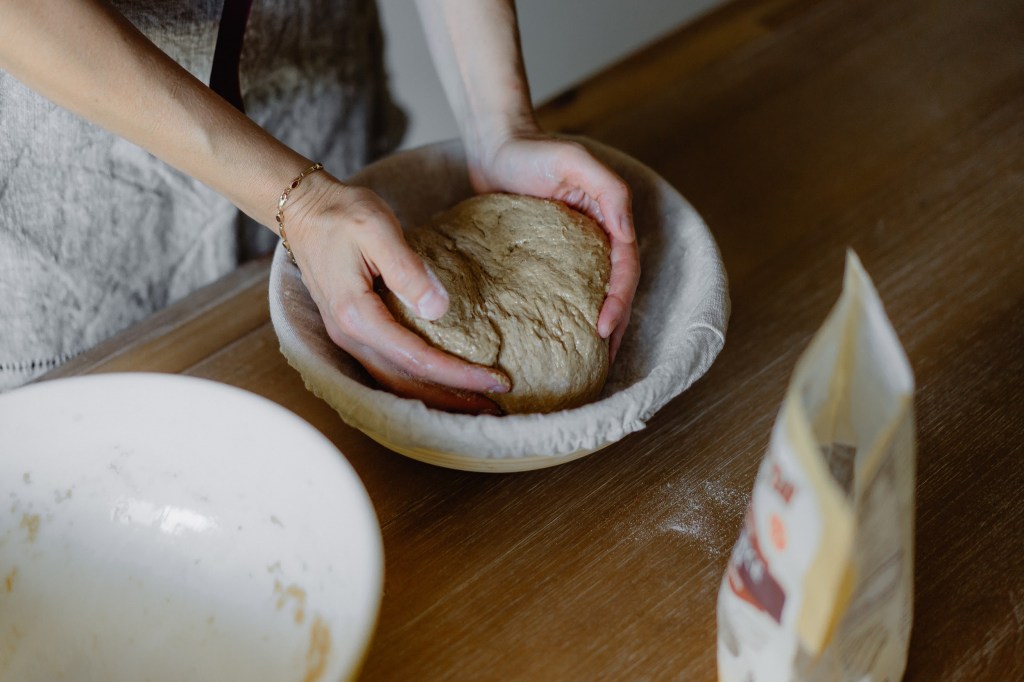
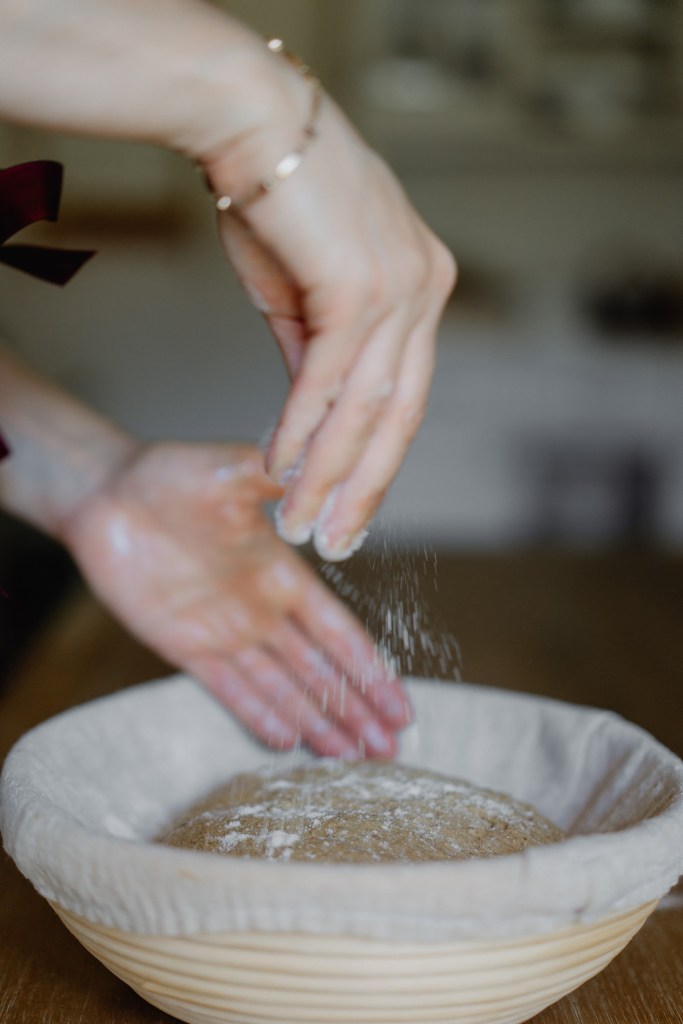
- Bread proofing baskets – optional. You can use any bowls similar in size lined with kitchen towels and sprinkled with flour. That’s how I started my journey. After I was gifted a few, I realized how much easier it is with them 🙂
- Bread lame – also optional – you can use a sharp knife
In the begging I was really confused on what to do with my starter. How to feed it, how to keep it alive, etc.
After a few months of baking, many tries, and more reading, I came up with my own schedule and plan, and it still works great.
I don’t bake every day, so I keep my starter in the fridge, not on the counter how many books may say.
Here is my typical schedule for sourdough bread baking:
In the morning on the day of mixing my dough, I take out my starter from the fridge and let it sit on the counter. As it gets to room temperature, it awakens and starts to grow. If it’s a hot summer day, I take it out in the afternoon.
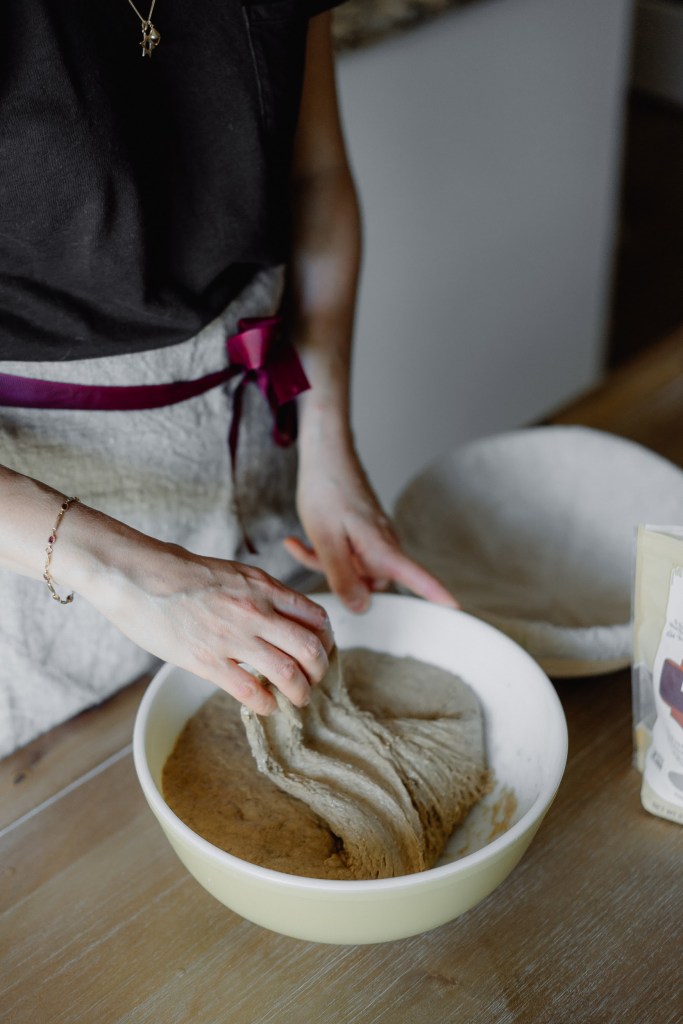
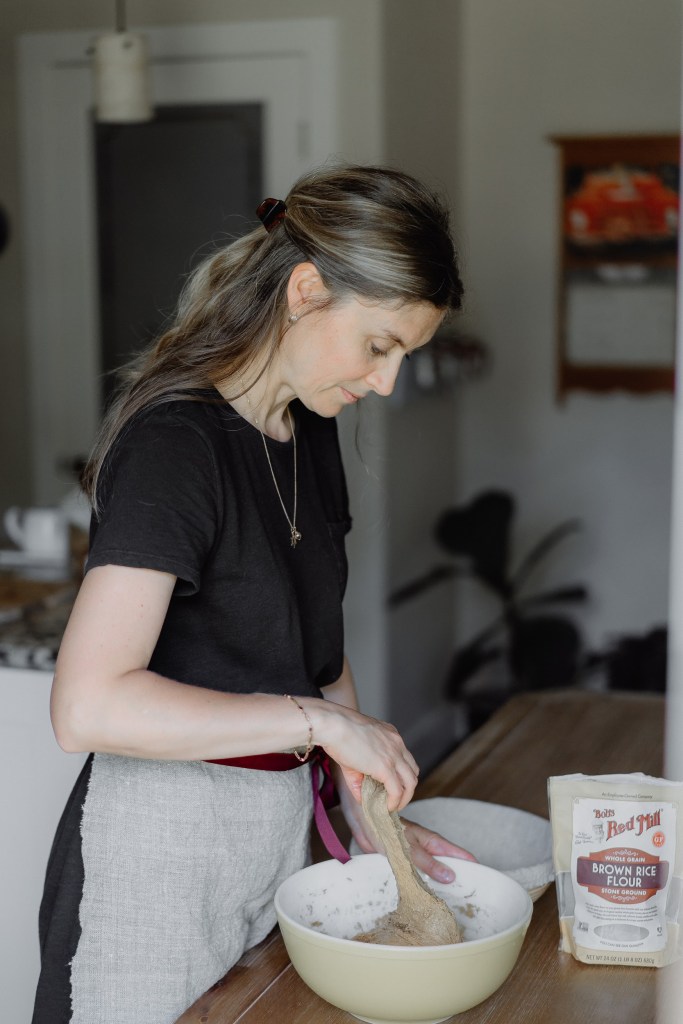
In the late evening, I mix the dough. This part is usually the hardest for me because by that time I need to do this step, I am already tired and ready to go to bed. So, I tell myself that we all will enjoy freshly baked bread tomorrow, and it gives me the push to mix the dough. If I am home, I can start mixing the dough around 7 pm, which is rare for me. I usually do it after I get back from church around 10 pm. And that explains why I told you earlier to do it even if you don’t want to 🙂
So I mix the dough, cover it and let it stay overnight on the counter.
Then I feed my starter and put it back into the fridge until next baking session.
Let’s talk about feeding the starter. My feeding is very simple. For example, if I have 80g of starter left, I add 80g of water and 80g of flour to it and mix it until flour fully incorporates into the starter. That’s my ratio every time I feed my starter. It works for me, and there is no big math or science involved 🙂
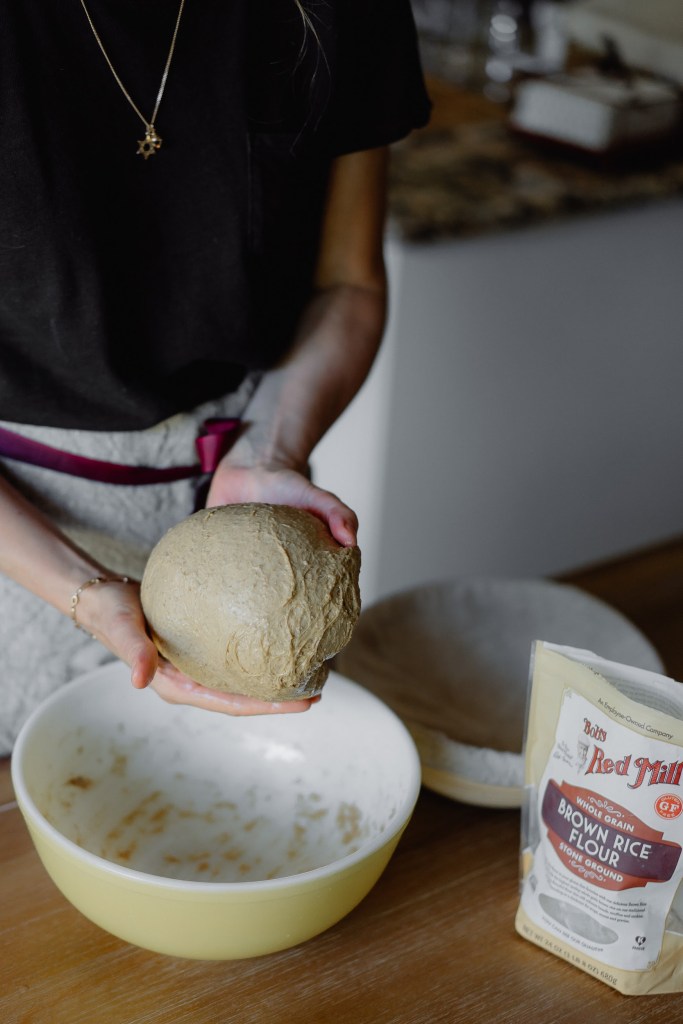
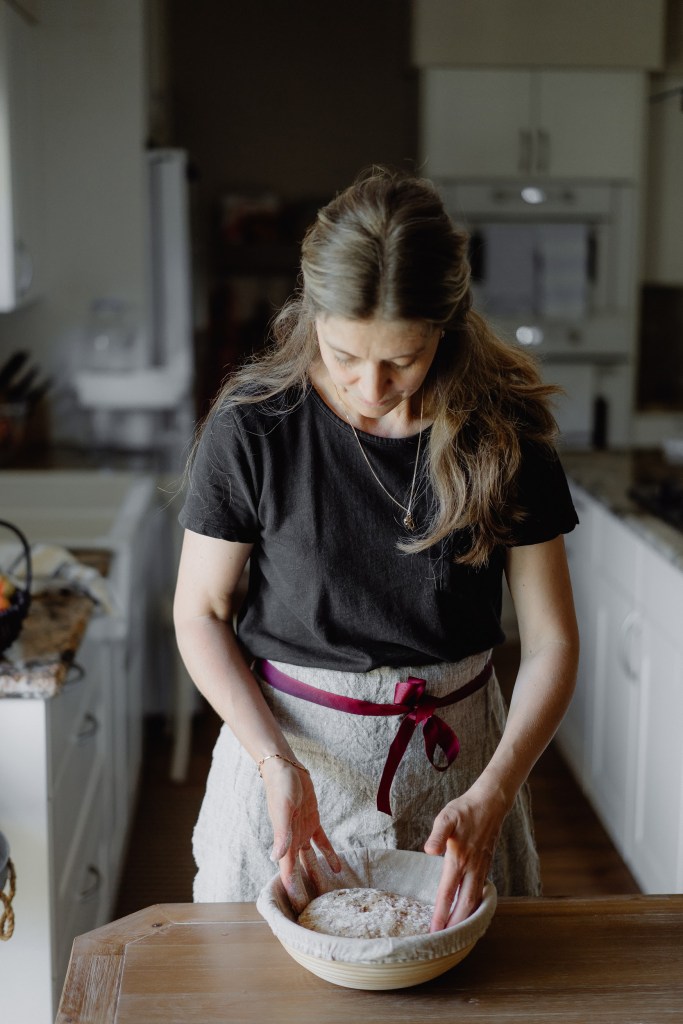
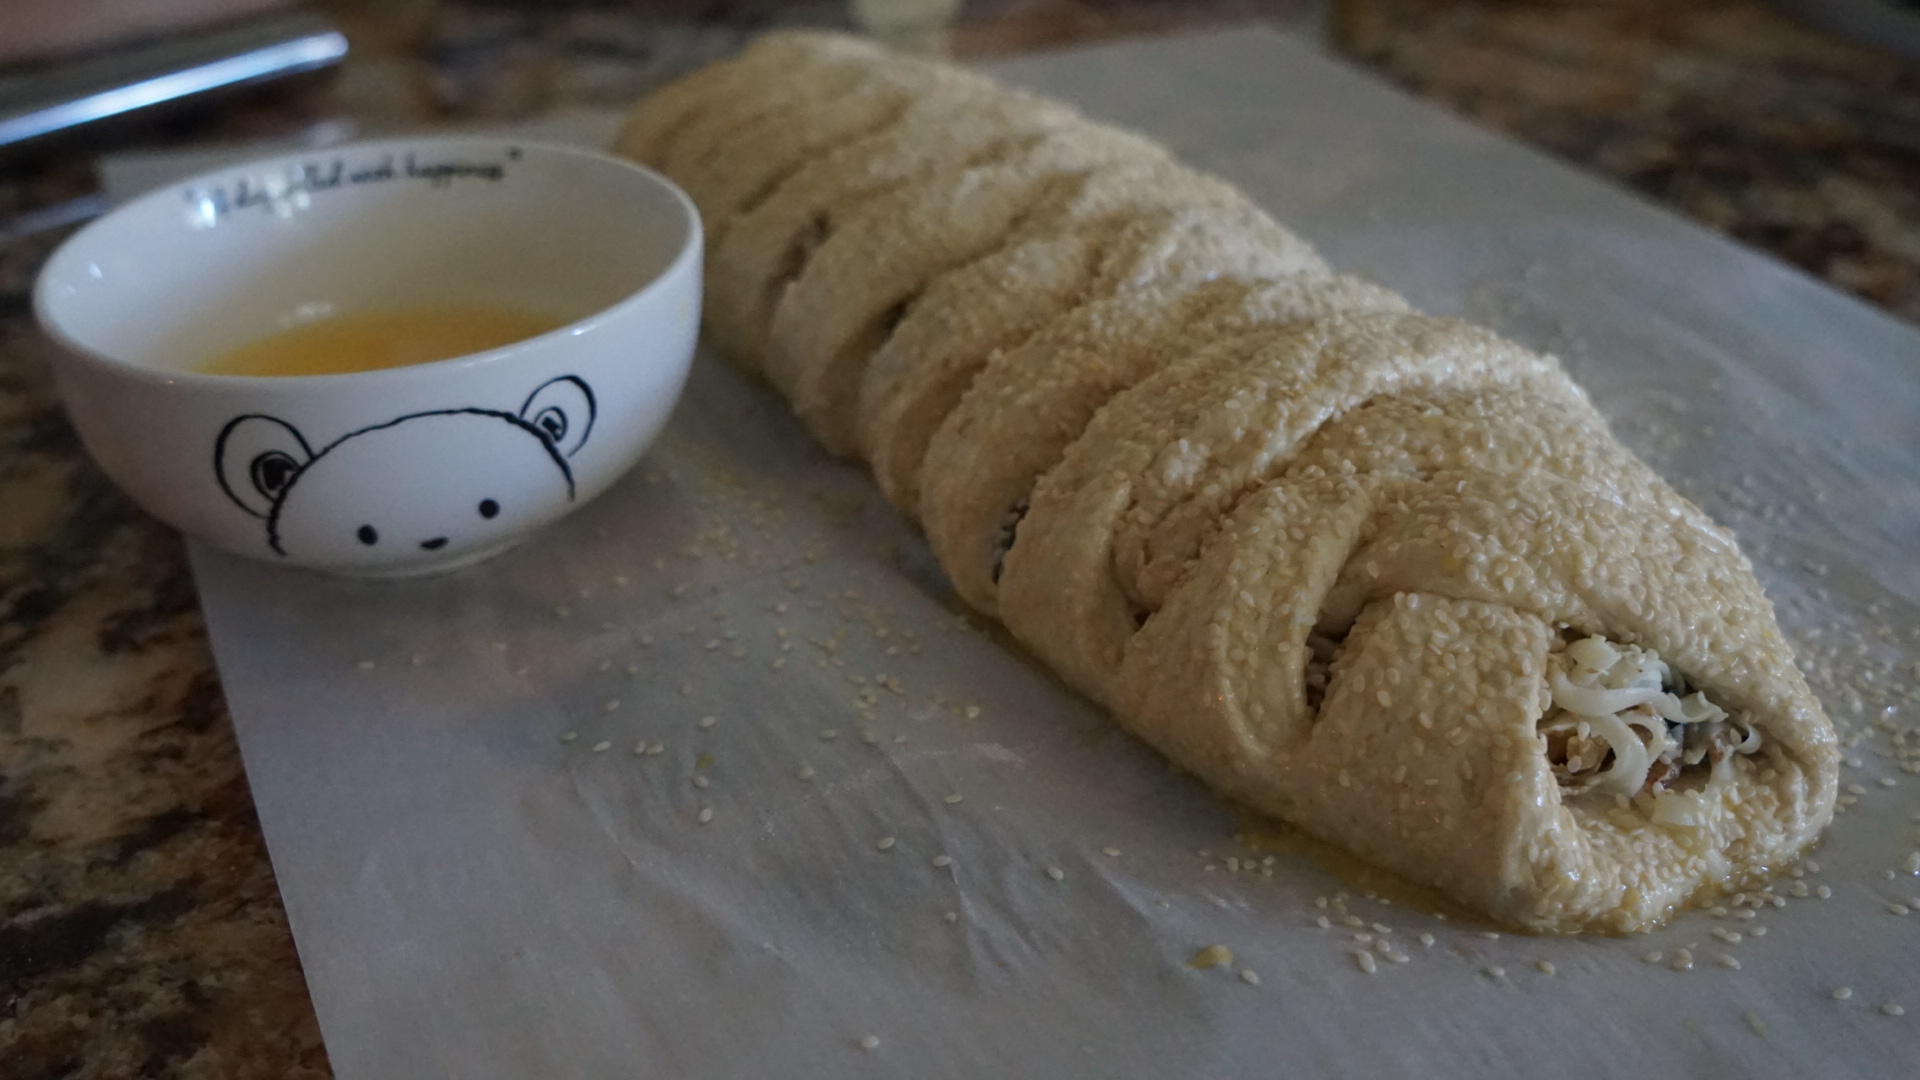
In the morning before work, I shape the dough, place it in the proofing basket, cover it, and put it in the fridge.
I bake the bread when I get back from work.
If it’s a day off, I shape the dough, place it in the basket, and let it rise/proof on the counter for about 1.5-2 hours, depending on the temperature in the kitchen.
When it comes time to bake, I preheat the oven without my Dutch oven in it. I then put my proofed bread into my cold Dutch oven and put it in the oven to bake. Some recipes will ask to do it differently.
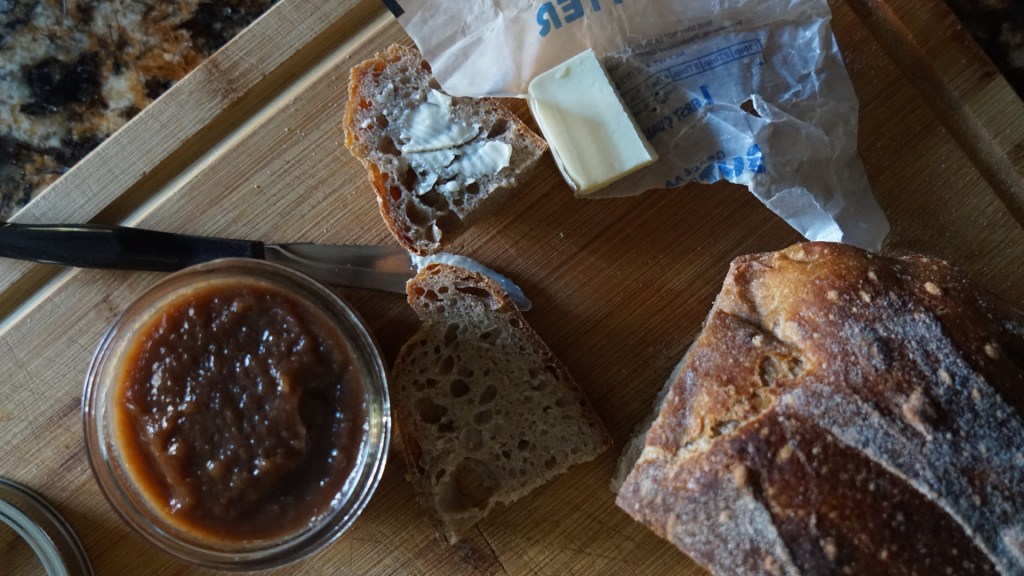
I will share my favorite bread recipes I added to my collection in the next few posts. And also, some recipes where you can use your starter discard.


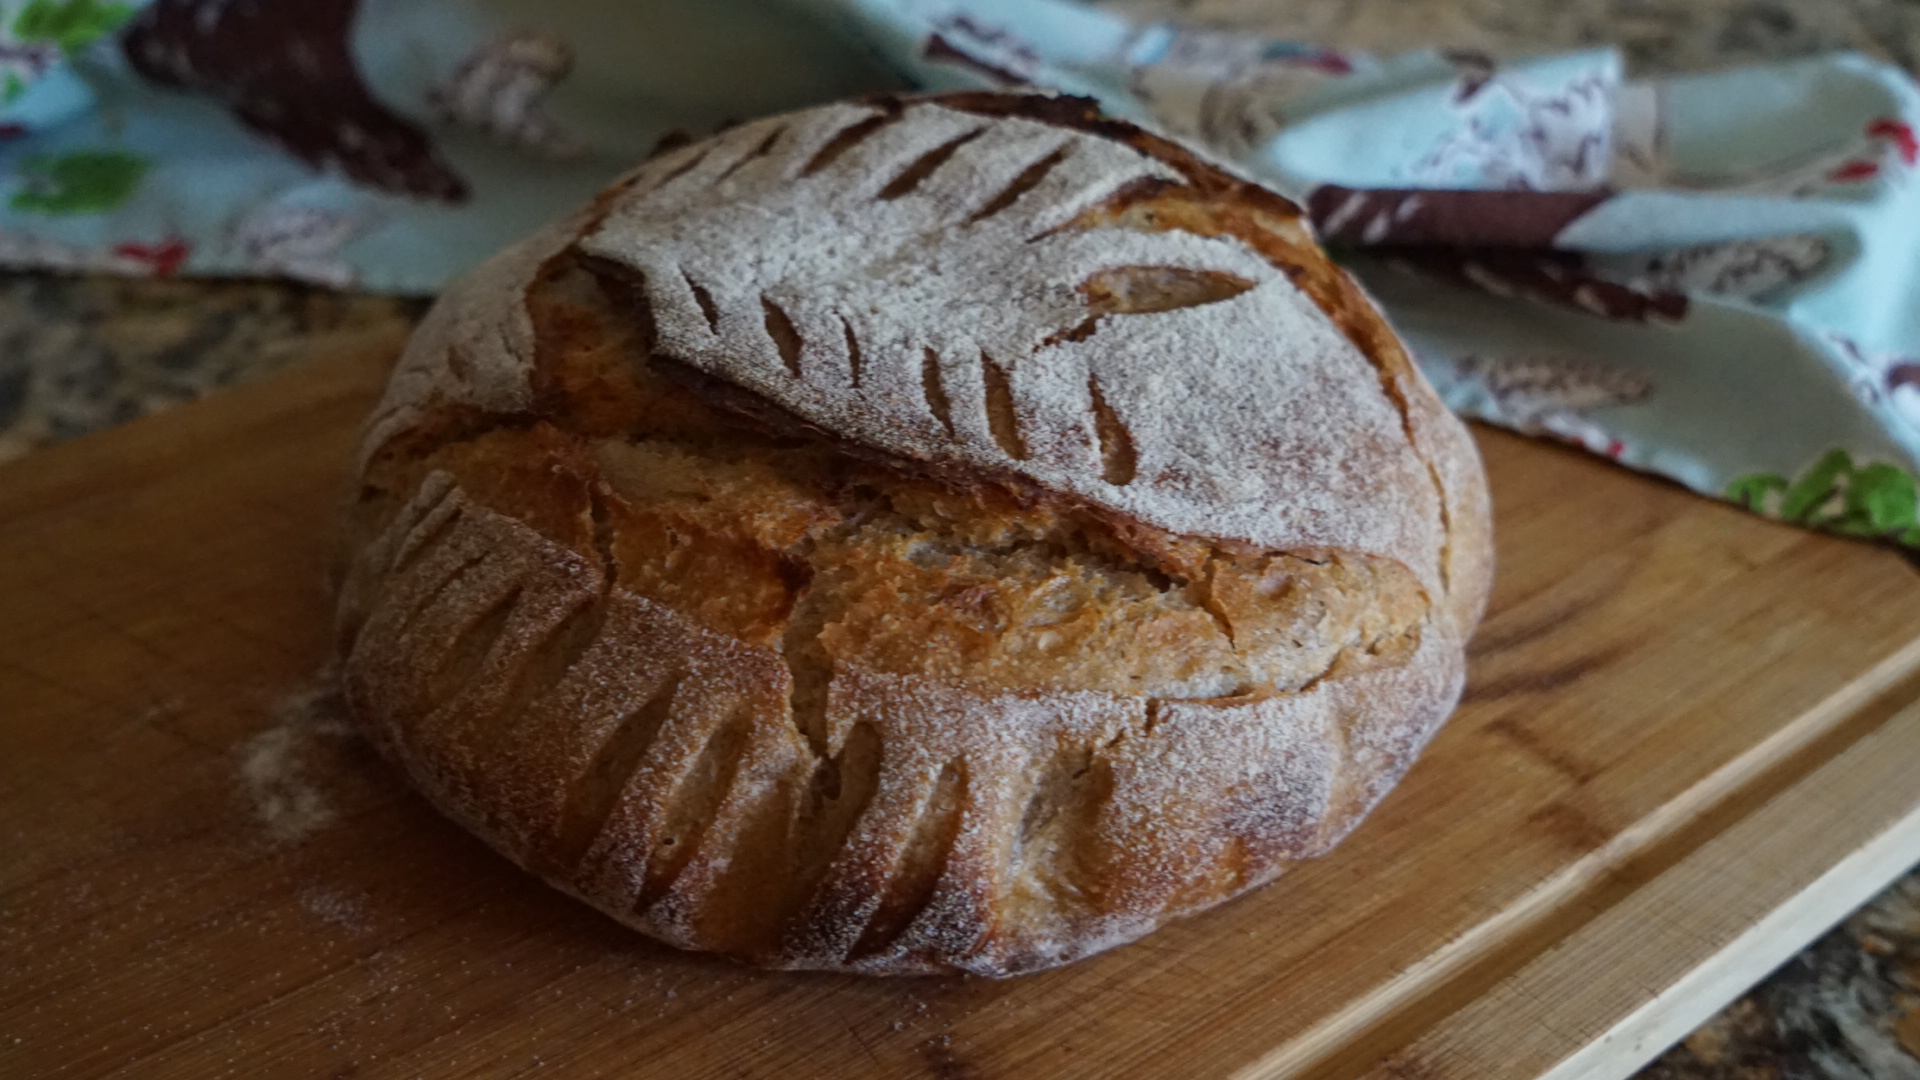
I hope this post will be helpful and encouraging for you to start or continue baking delicious bread.
I will leave you with a few benefits that come with sourdough:
- You don’t rely on commercial yeast anymore. We all, including me, experienced that in the year of 2020. Not being able to find and buy any yeast in stores pushed me to try again at making my own starter after so many fails before.
- It improves digestive health
- It’s packed with nutrients, healthy carbs, protein, fiber and vitamins
- It also has a lower gluten content
I think it’s a great goal for 2023 to dive into the world of sourdough baking or give it another try.
“This is my invariable advice to people: Learn how to cook – try new recipes, learn from your mistakes, be fearless, and above all have fun!”
– Julia Child, My Life in France
This quote by Julia Child can relate to any area of our lives. I will repeat myself again, don’t give up on trying or learning something new, and don’t be afraid to fail sometimes.
Feel free to ask questions, share your story, or comment down below.
Happy baking everyone!
Natasha


Leave a comment